- Custom app
- Shopify app
Use this path now — connect Asa with a Shopify custom app and Admin API credentials from the Shopify Dev Dashboard.
Create a custom app in Shopify
In your Shopify admin, go to Settings > Apps and sales channels, then Develop apps and open Build apps in Dev Dashboard.Click Create app and name it Asa Custom App, then click Create.
If you cannot access the Dev Dashboard, you may lack the required permissions. Ask your store admin. For help from Asa, email help@alphablocks.ai.
Add Admin API scopes and install
In your custom app, open Access > Scopes and paste these scopes:Click Release, then Install and select the store to install on.
Copy Client ID and Secret
Open the Settings tab in your custom app.Under Credentials, copy the Client ID and Secret — you need both in Asa.
Connect in Asa
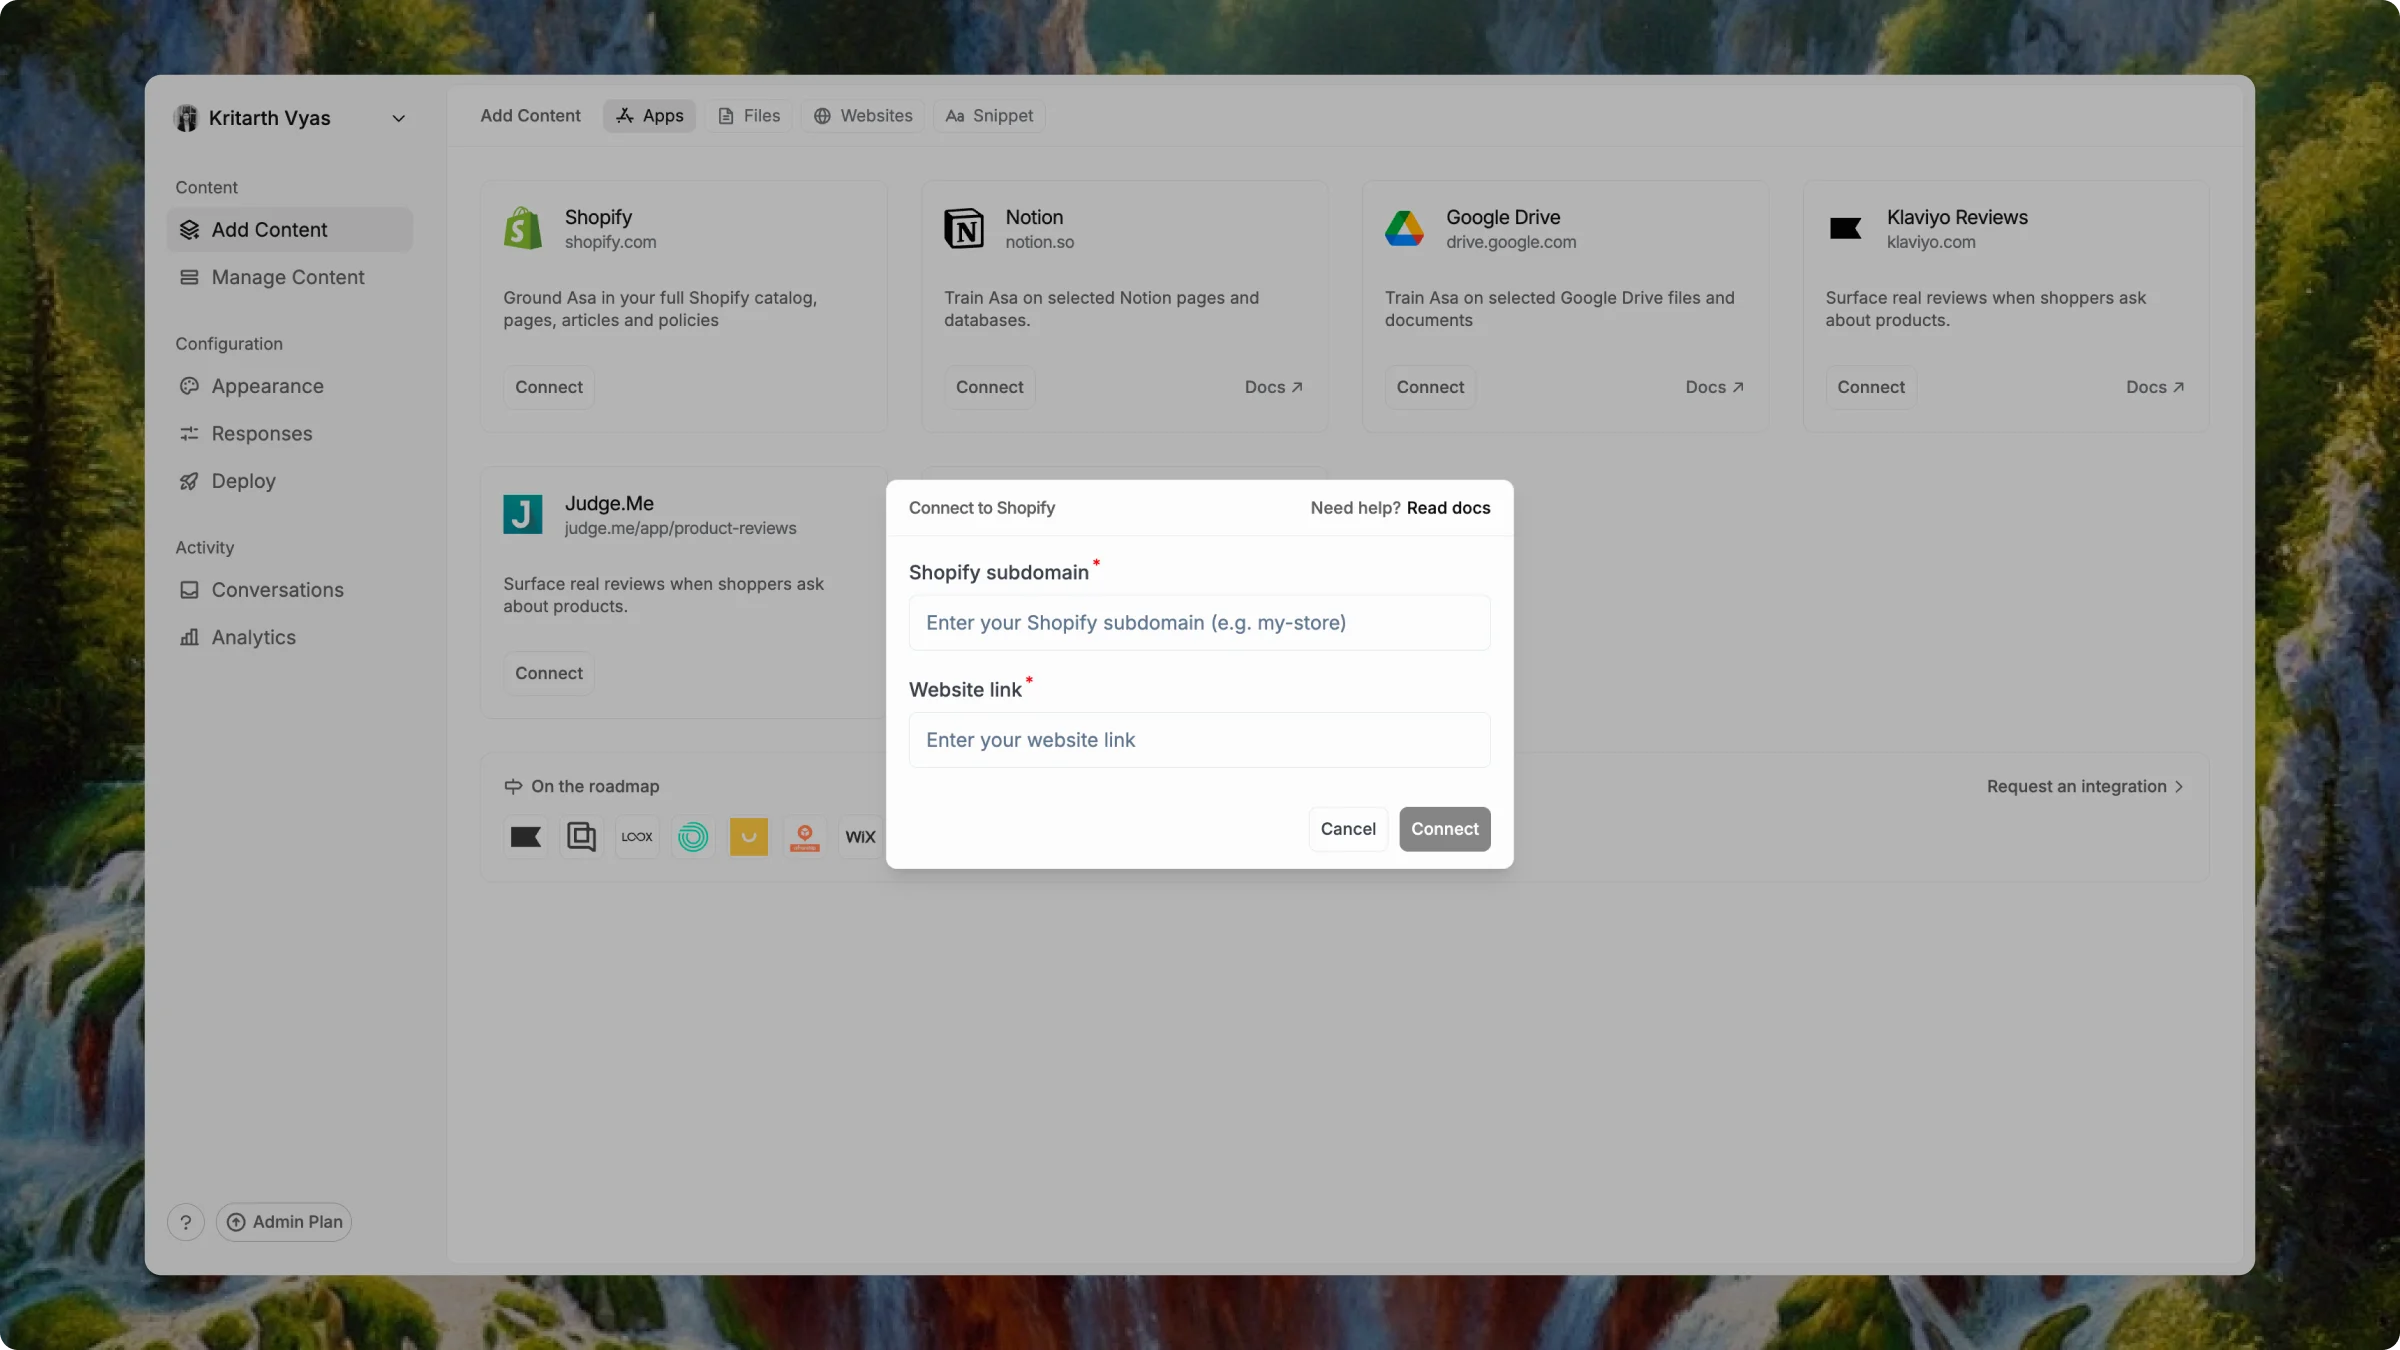
Navigate to Add Content in the sidebar, open the Apps tab, and click Connect on the Shopify (Custom App) card.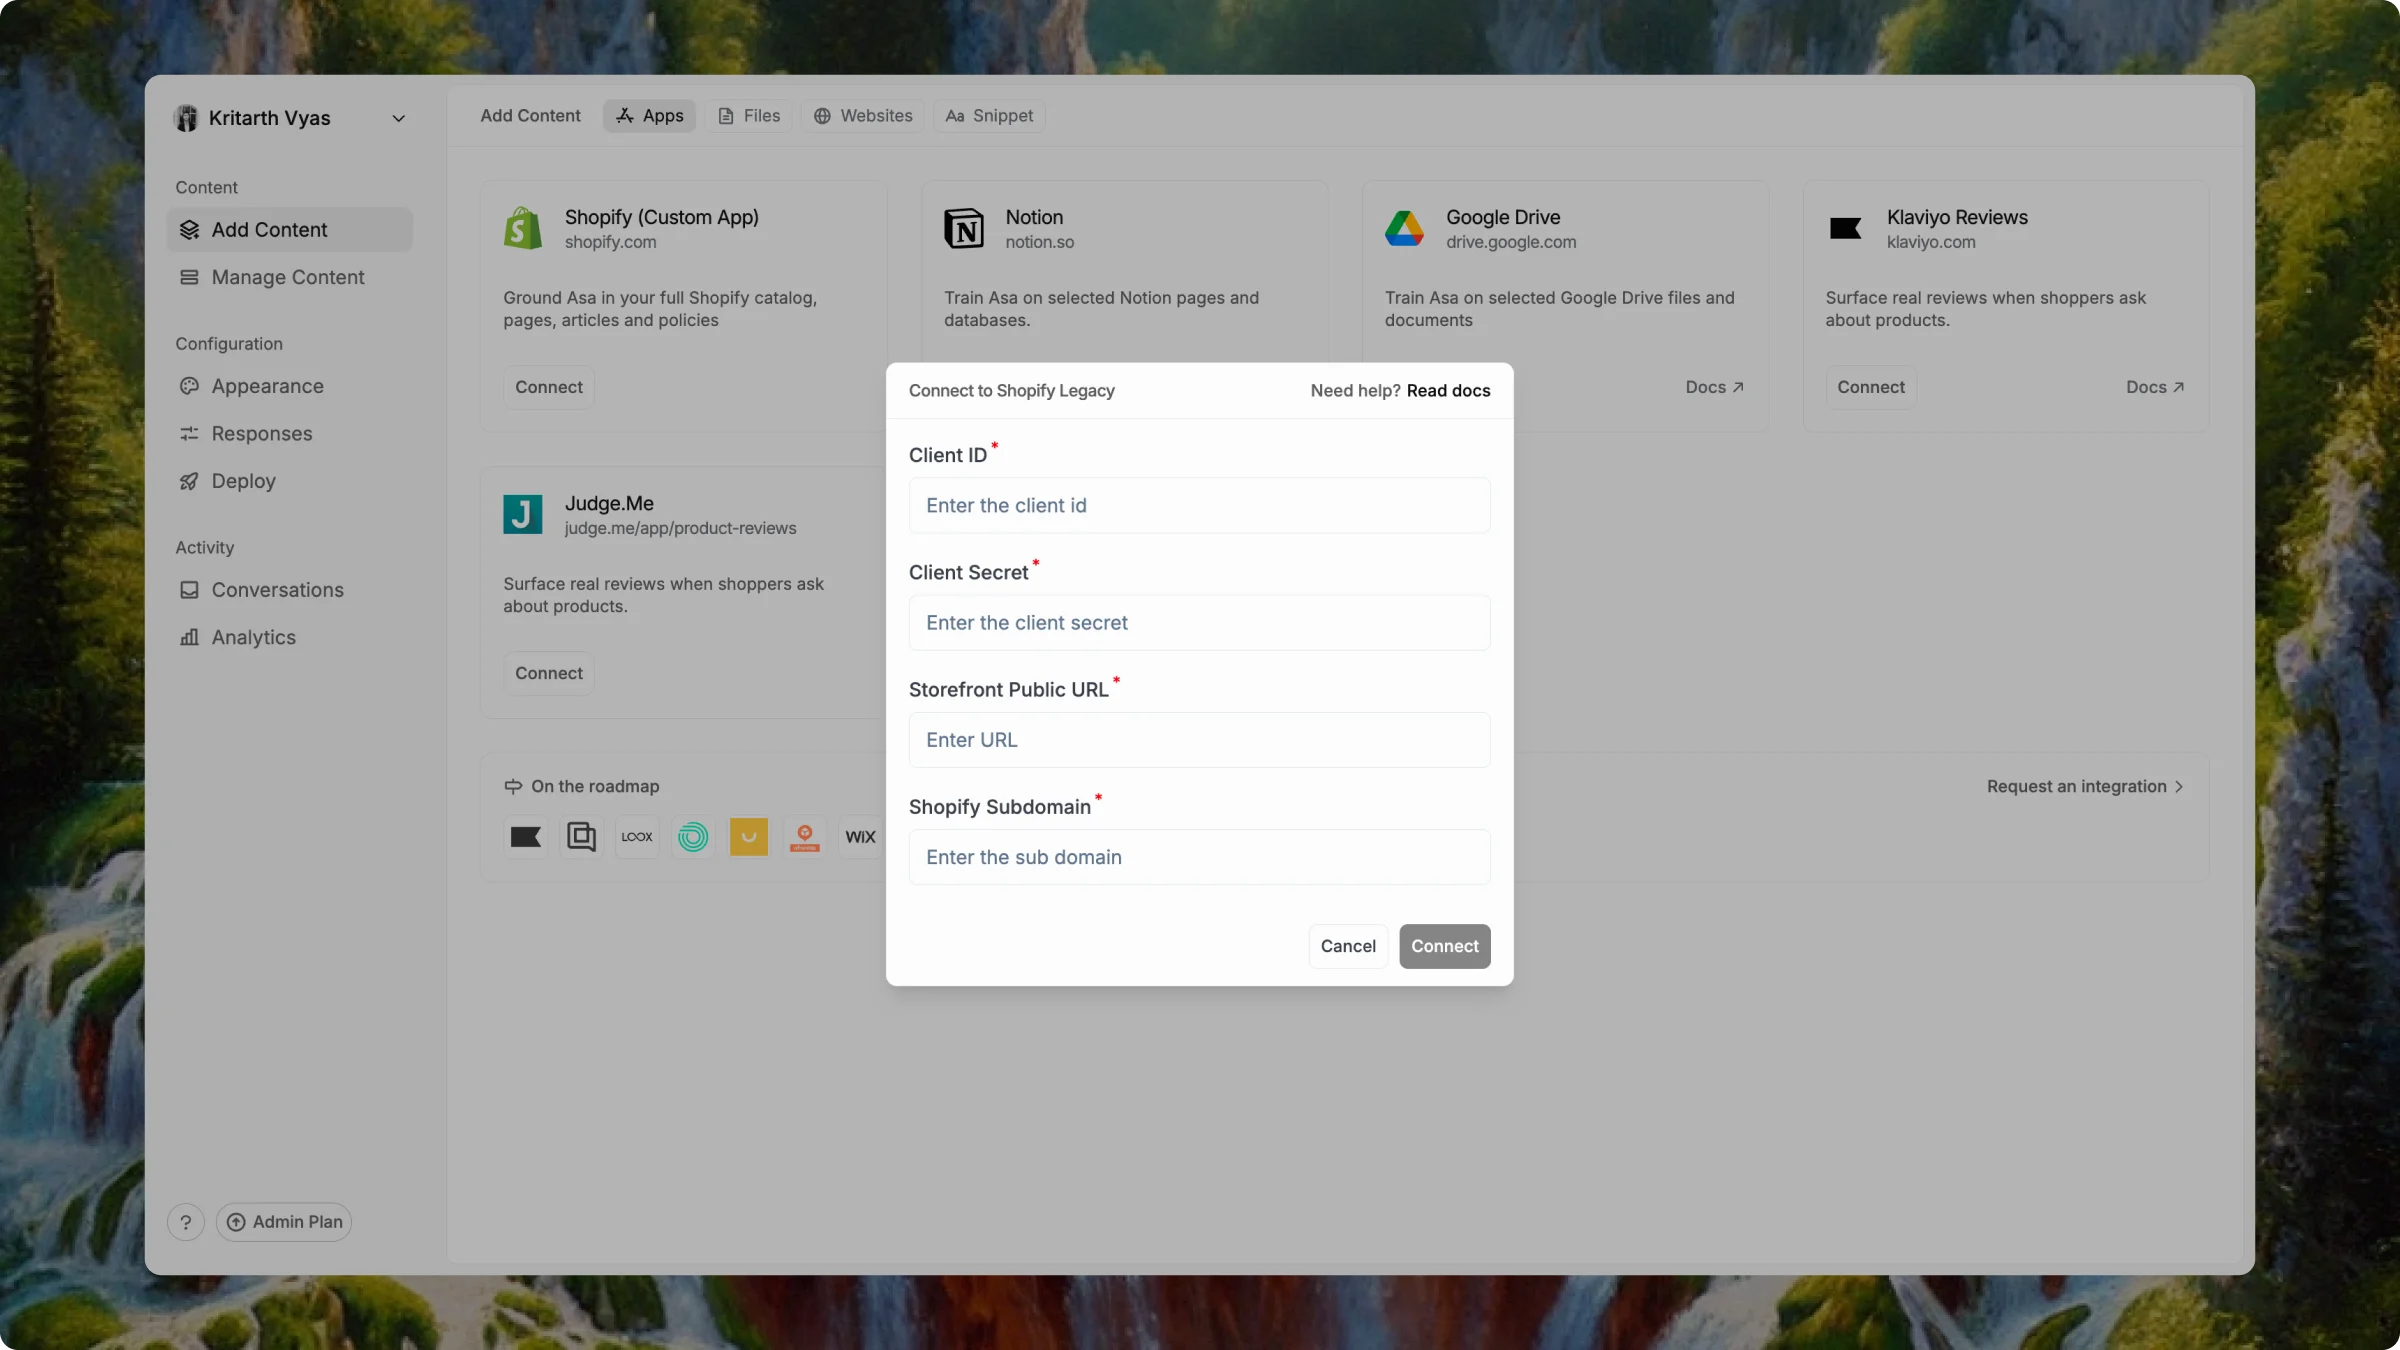
Example: if your admin URL is
https://admin.shopify.com/store/acme/settings/domains, your subdomain is acme.Click Connect. When setup succeeds, the card shows Connected.Connecting Shopify does not train Asa on your catalog yet. You choose what to train in the next section.
Select content and train
After Shopify connects — on either path — the content selection dialog opens automatically. If it does not, open the Connected menu on the Shopify card and choose Manage integration.Choose catalog content
In Allow Asa to access these data sources, select what Asa should learn from — for example Products, Blogs, Pages, and Policies.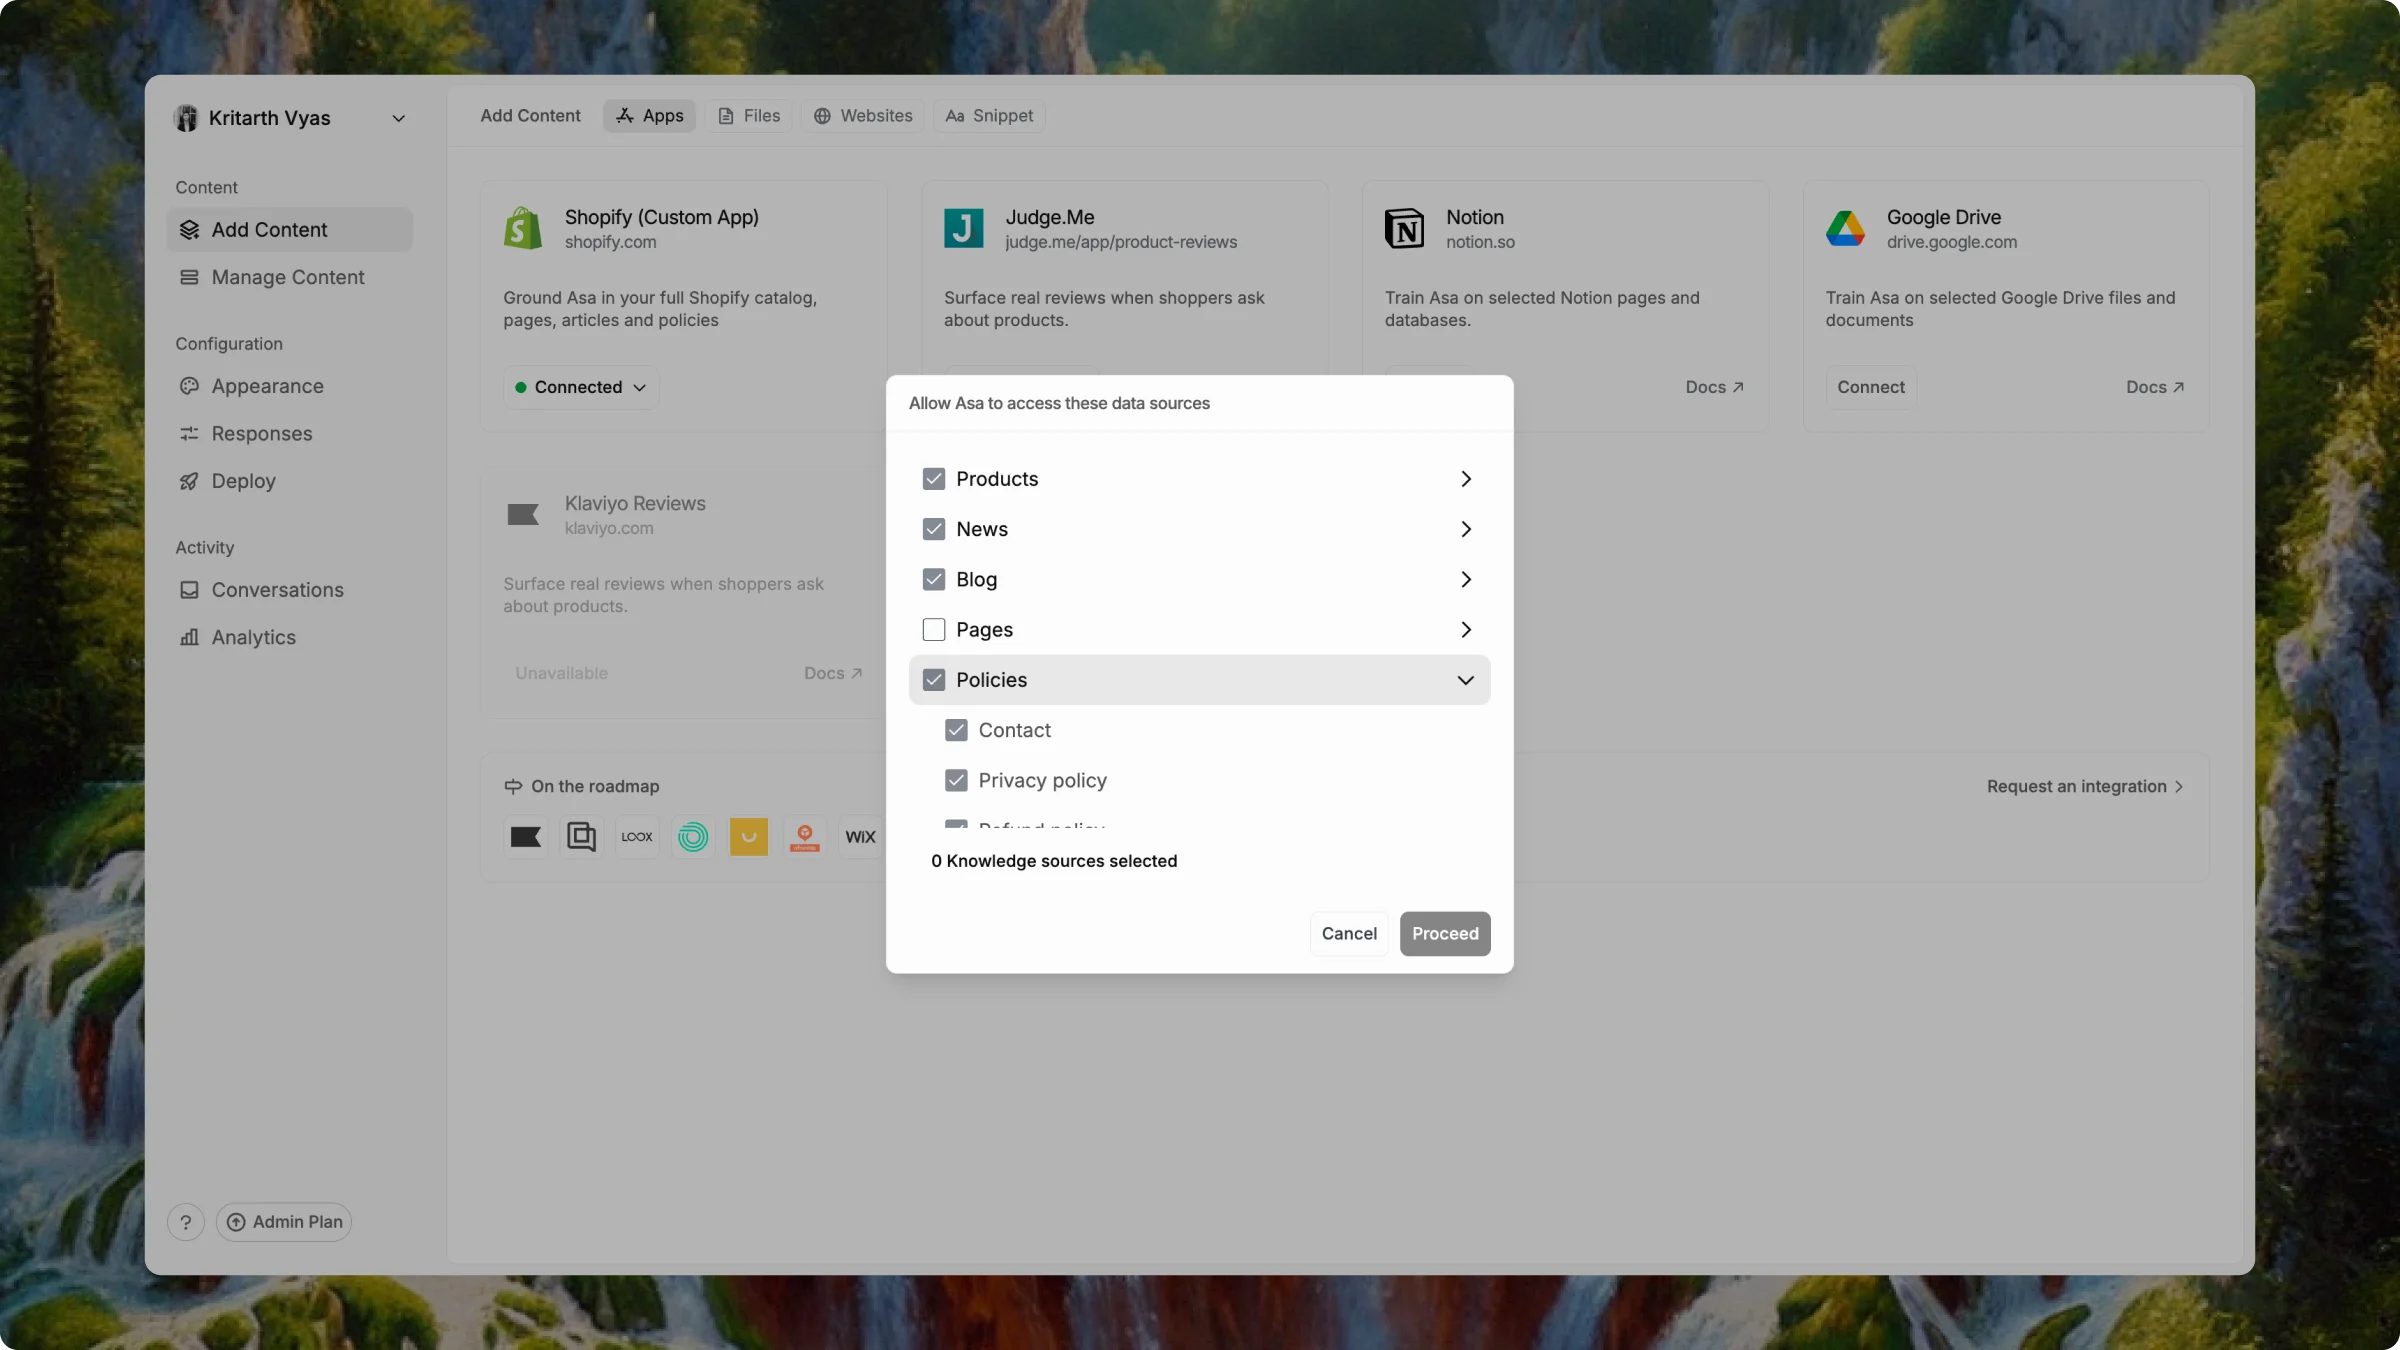
Select metafields (if applicable)
If you selected products, click Next to open Select Metafields and choose which product metafields Asa should use.Click Proceed to start training. If you did not select products, click Proceed from the content screen instead.Training usually takes a few minutes depending on how much you selected.
Go to Manage Content and confirm your Shopify sources show a Trained status.
Keep content up to date
Notes
- Until the Asa Shopify app is approved, use the Custom app path and the Shopify (Custom App) card in Add Content.
- After App Store approval, the Shopify app tab describes the install-from-store flow.
- Double-check credentials and store URLs — typos are the most common connection failure.
- Only the scopes or permissions you approve are used by Asa.