1

Create your account

Go to asa.so and click Sign In in the top right. Create an account with your email and set a password. Complete account verification. When you finish, you land in your Asa dashboard.
2

Add your content

Asa answers from what it knows. Go to Add Content in the sidebar.
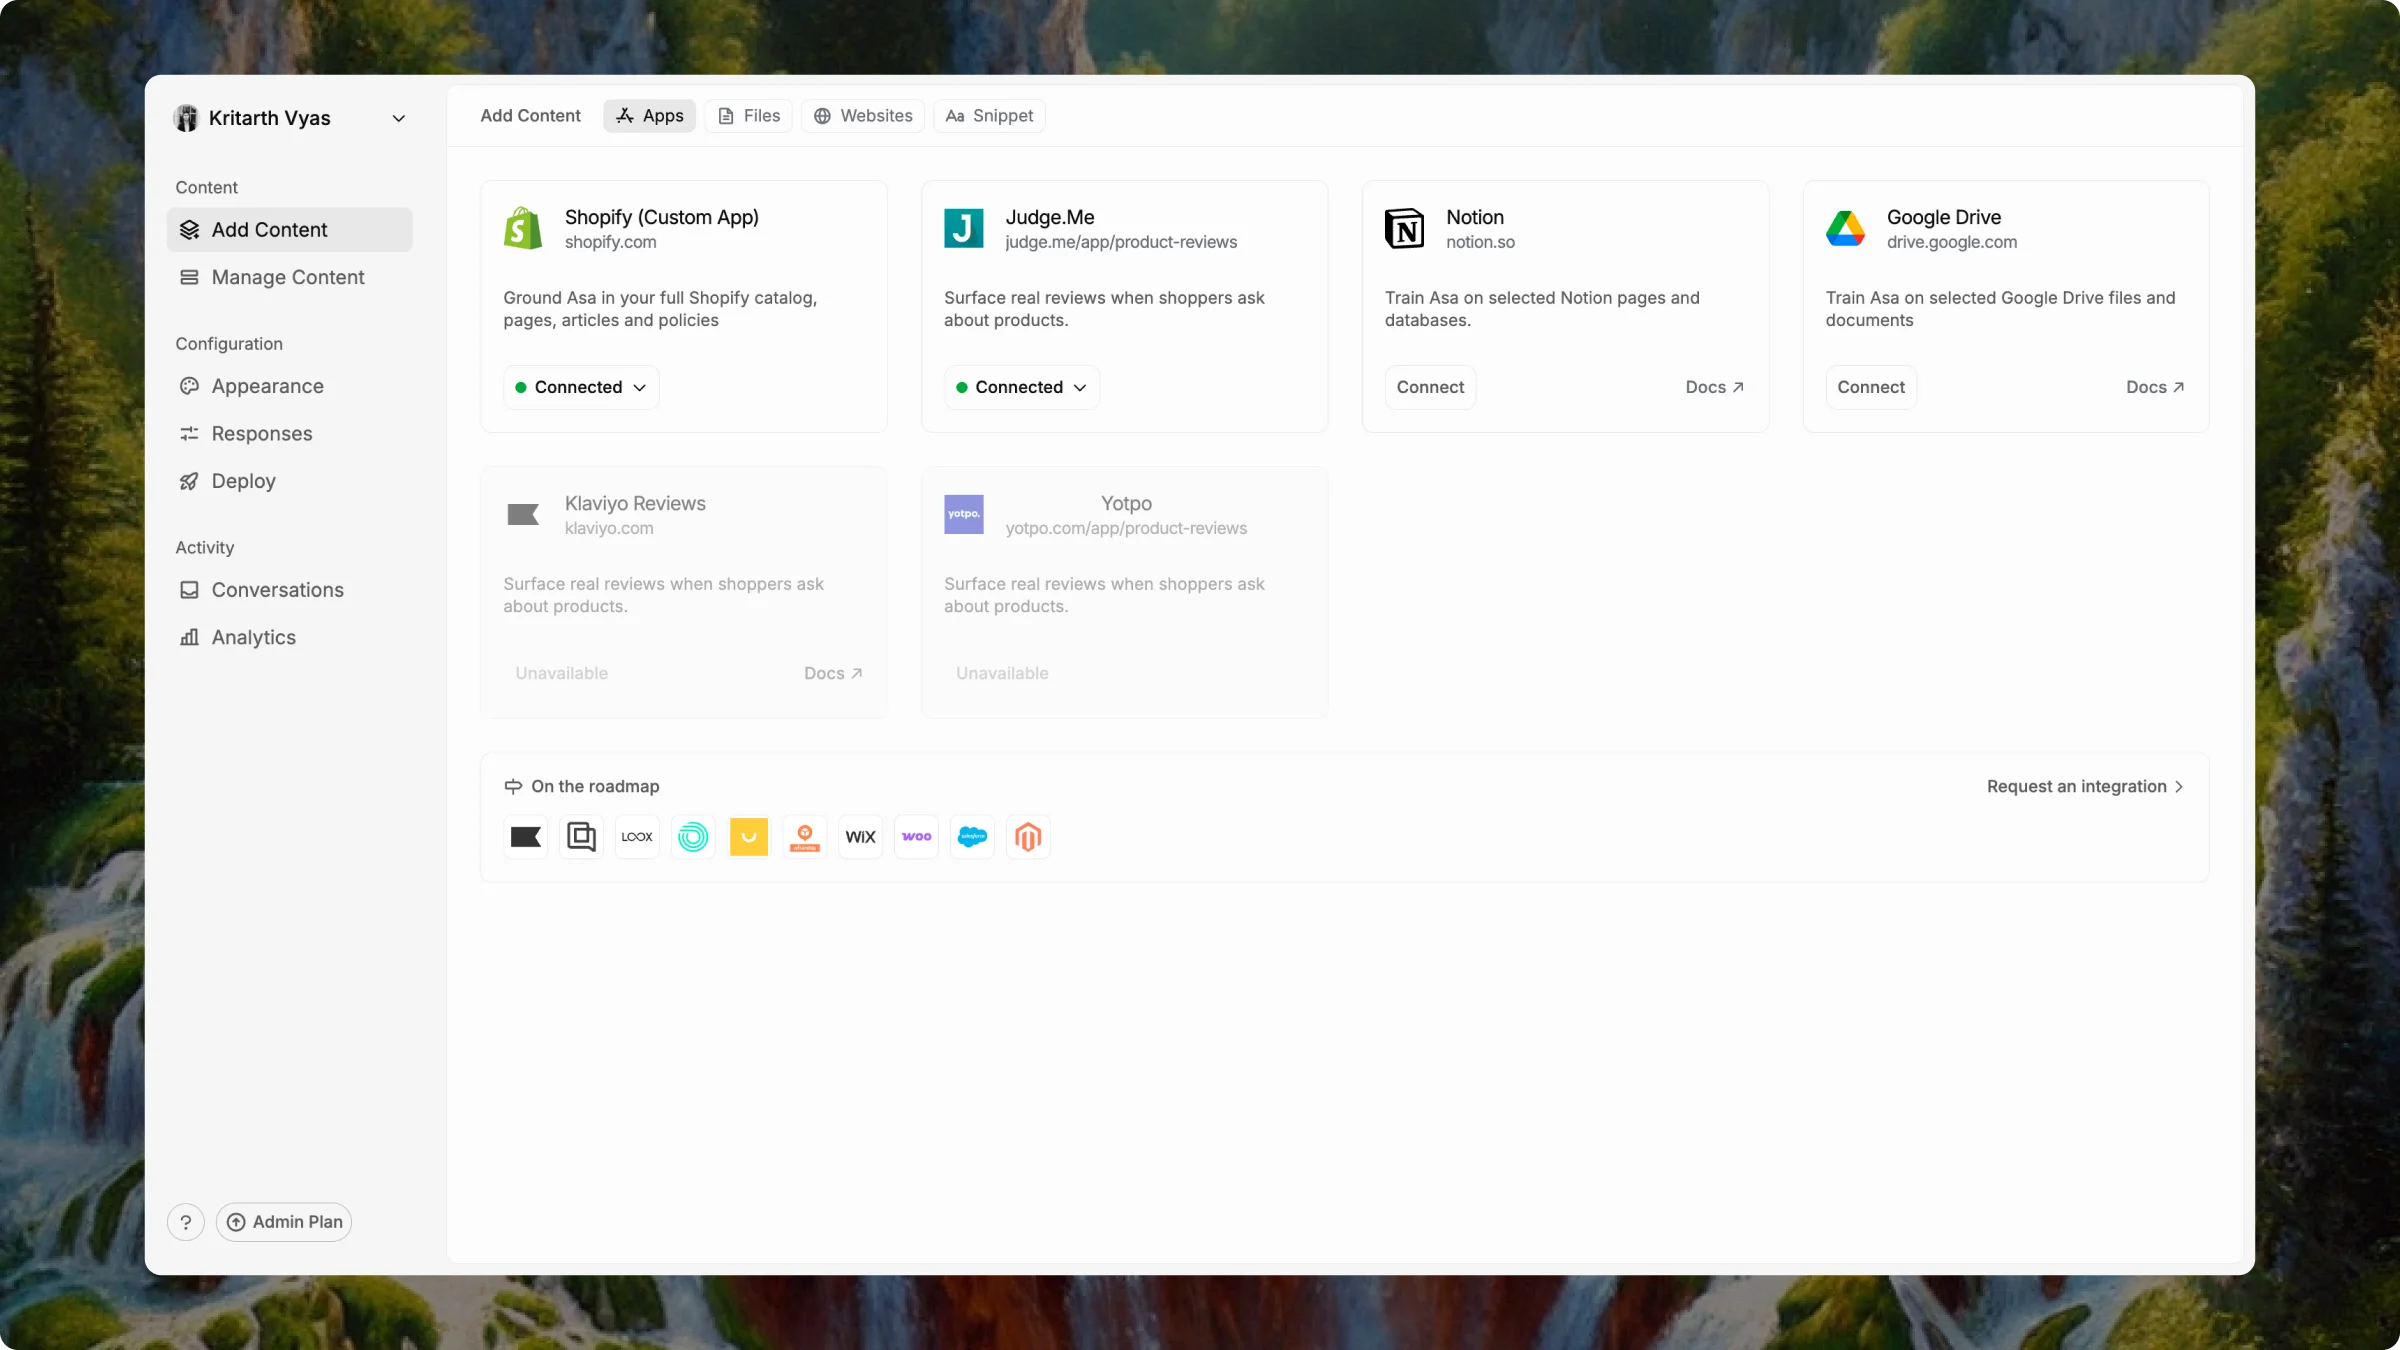
Add Content screen showing Apps, Files, Websites and Snippet tabs
On Shopify? Connect it first — it is your most valuable source. Train products, blogs, pages, and policies; Shopify keeps them in sync after that.

Connect Shopify

Connect your store and choose what Asa should learn from.
Everything else — use the tabs across the top:
TabWhat to add
AppsShopify, Notion, Google Drive, Judge.me, Yotpo, Klaviyo Reviews
FilesPDFs, CSVs, Docs — policies, guides, spec sheets
WebsitesAny URL Asa can read and learn from
SnippetPaste text directly — short policies or FAQs
Start with products and policies. They answer most shopper questions. Add the rest after you are live.
After you connect apps or upload content, go to Manage Content to watch training status in real time.
3

Confirm your content is trained

Go to Manage Content in the sidebar. Wait until every source shows Trained before moving on.
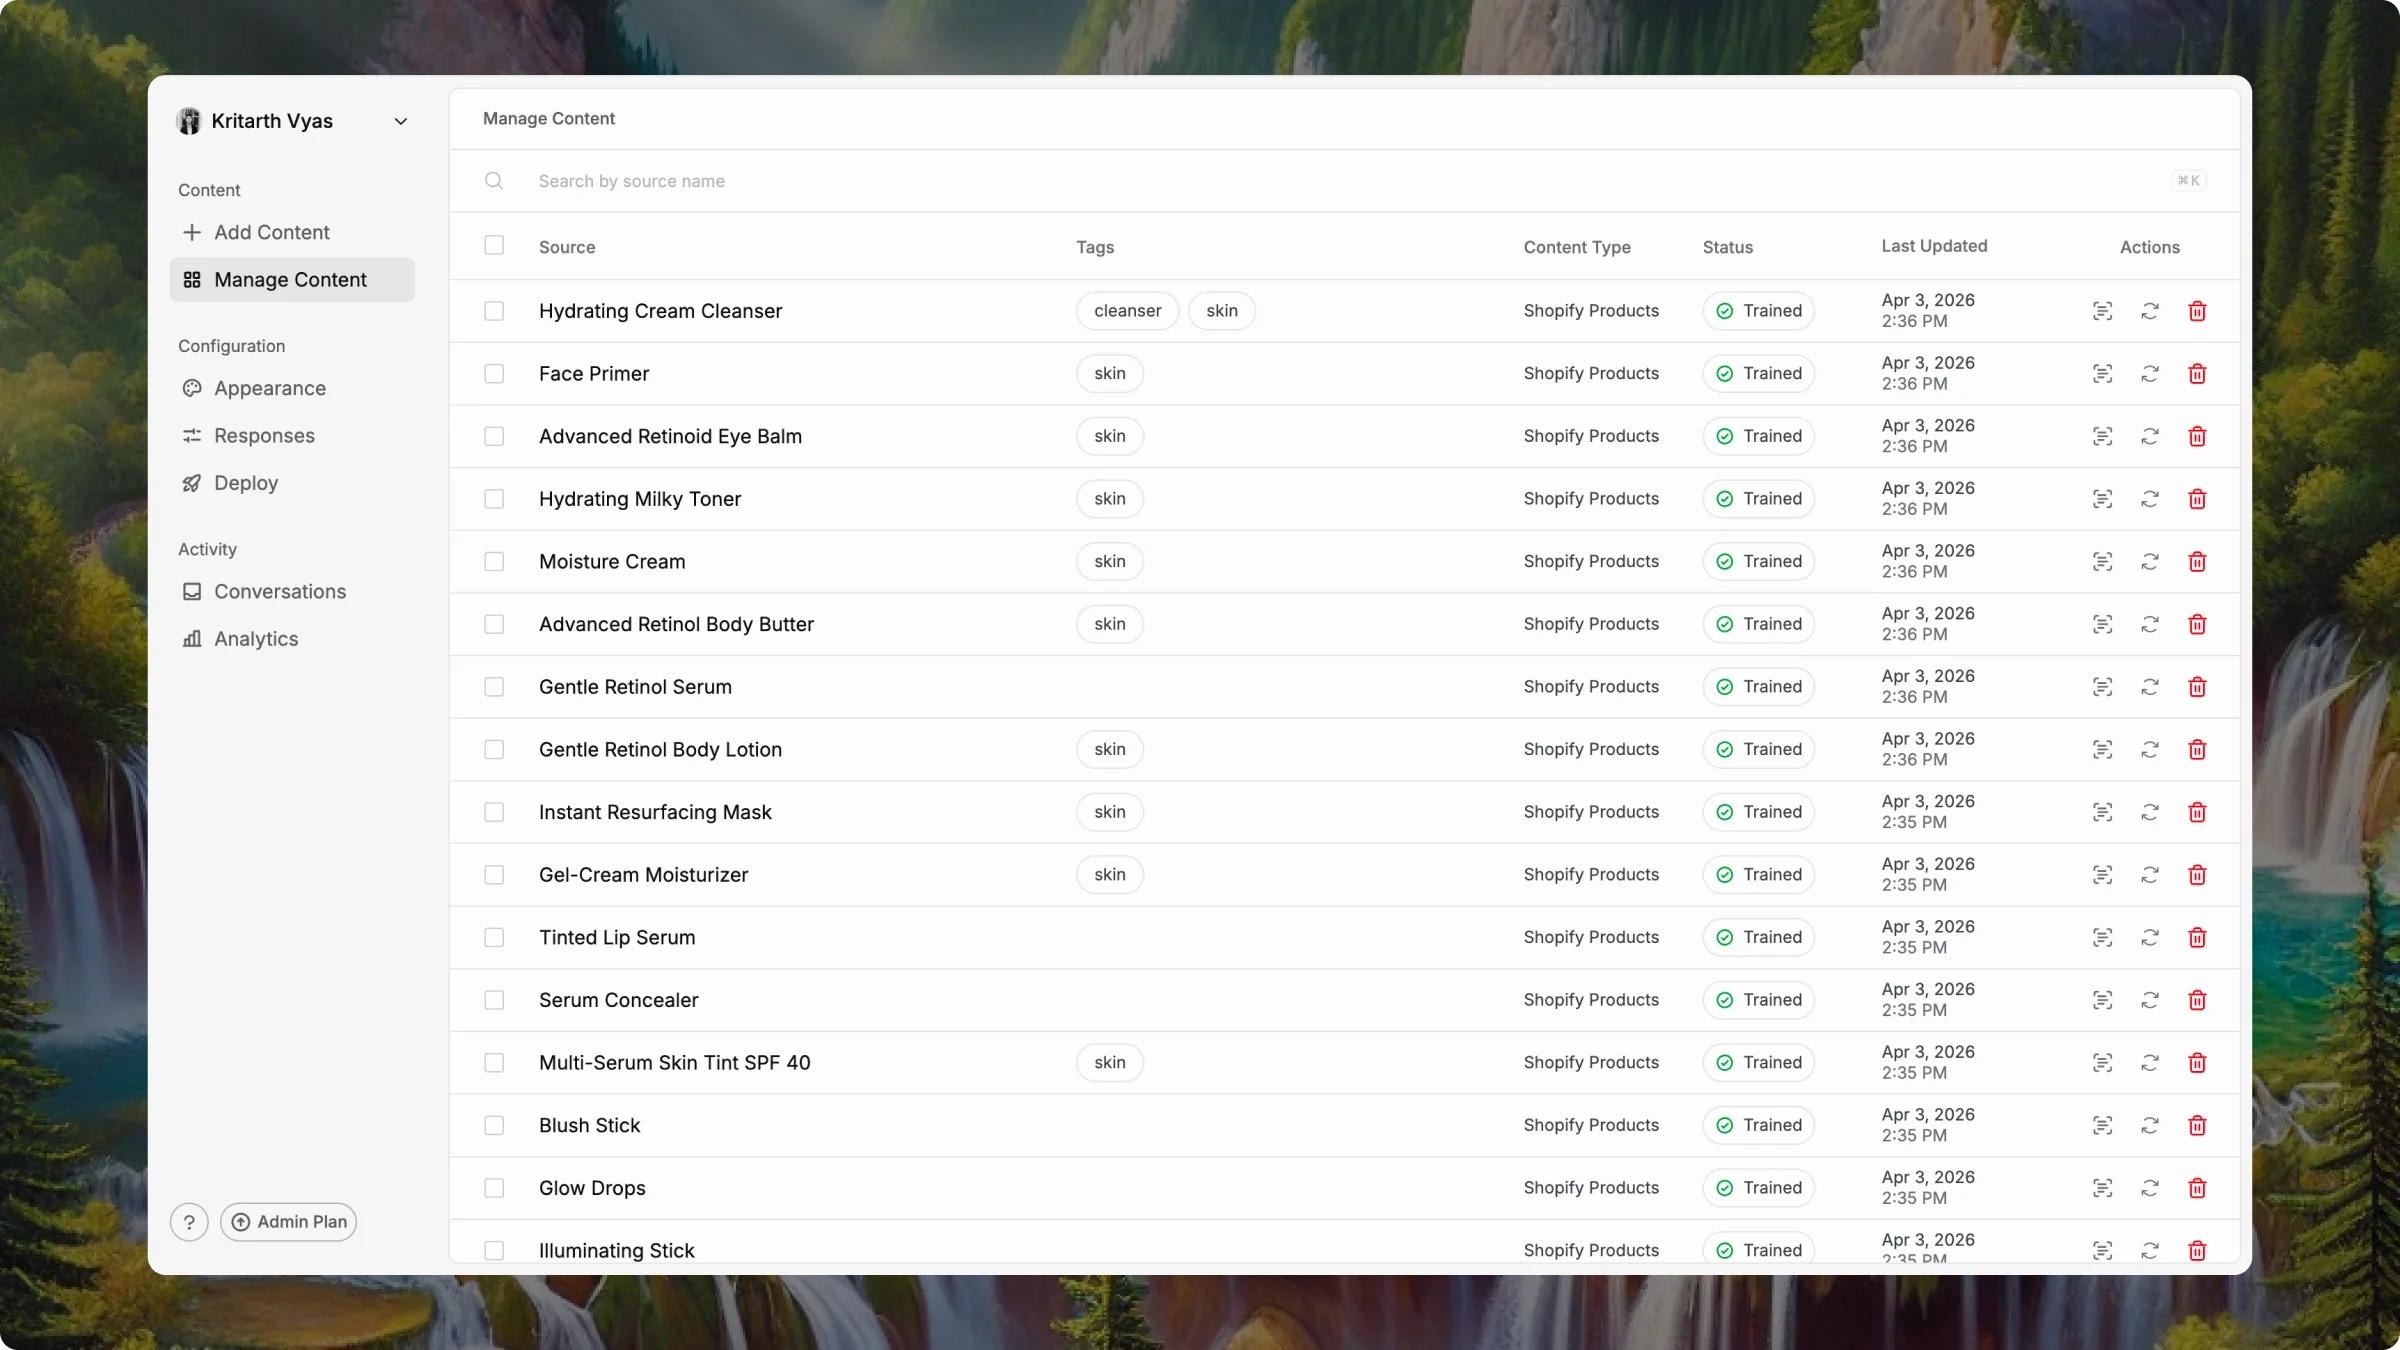
Manage Content screen showing trained sources with green status indicators
Click View content on any trained row to see what Asa extracted. If something looks wrong, delete the source and retrain.
4

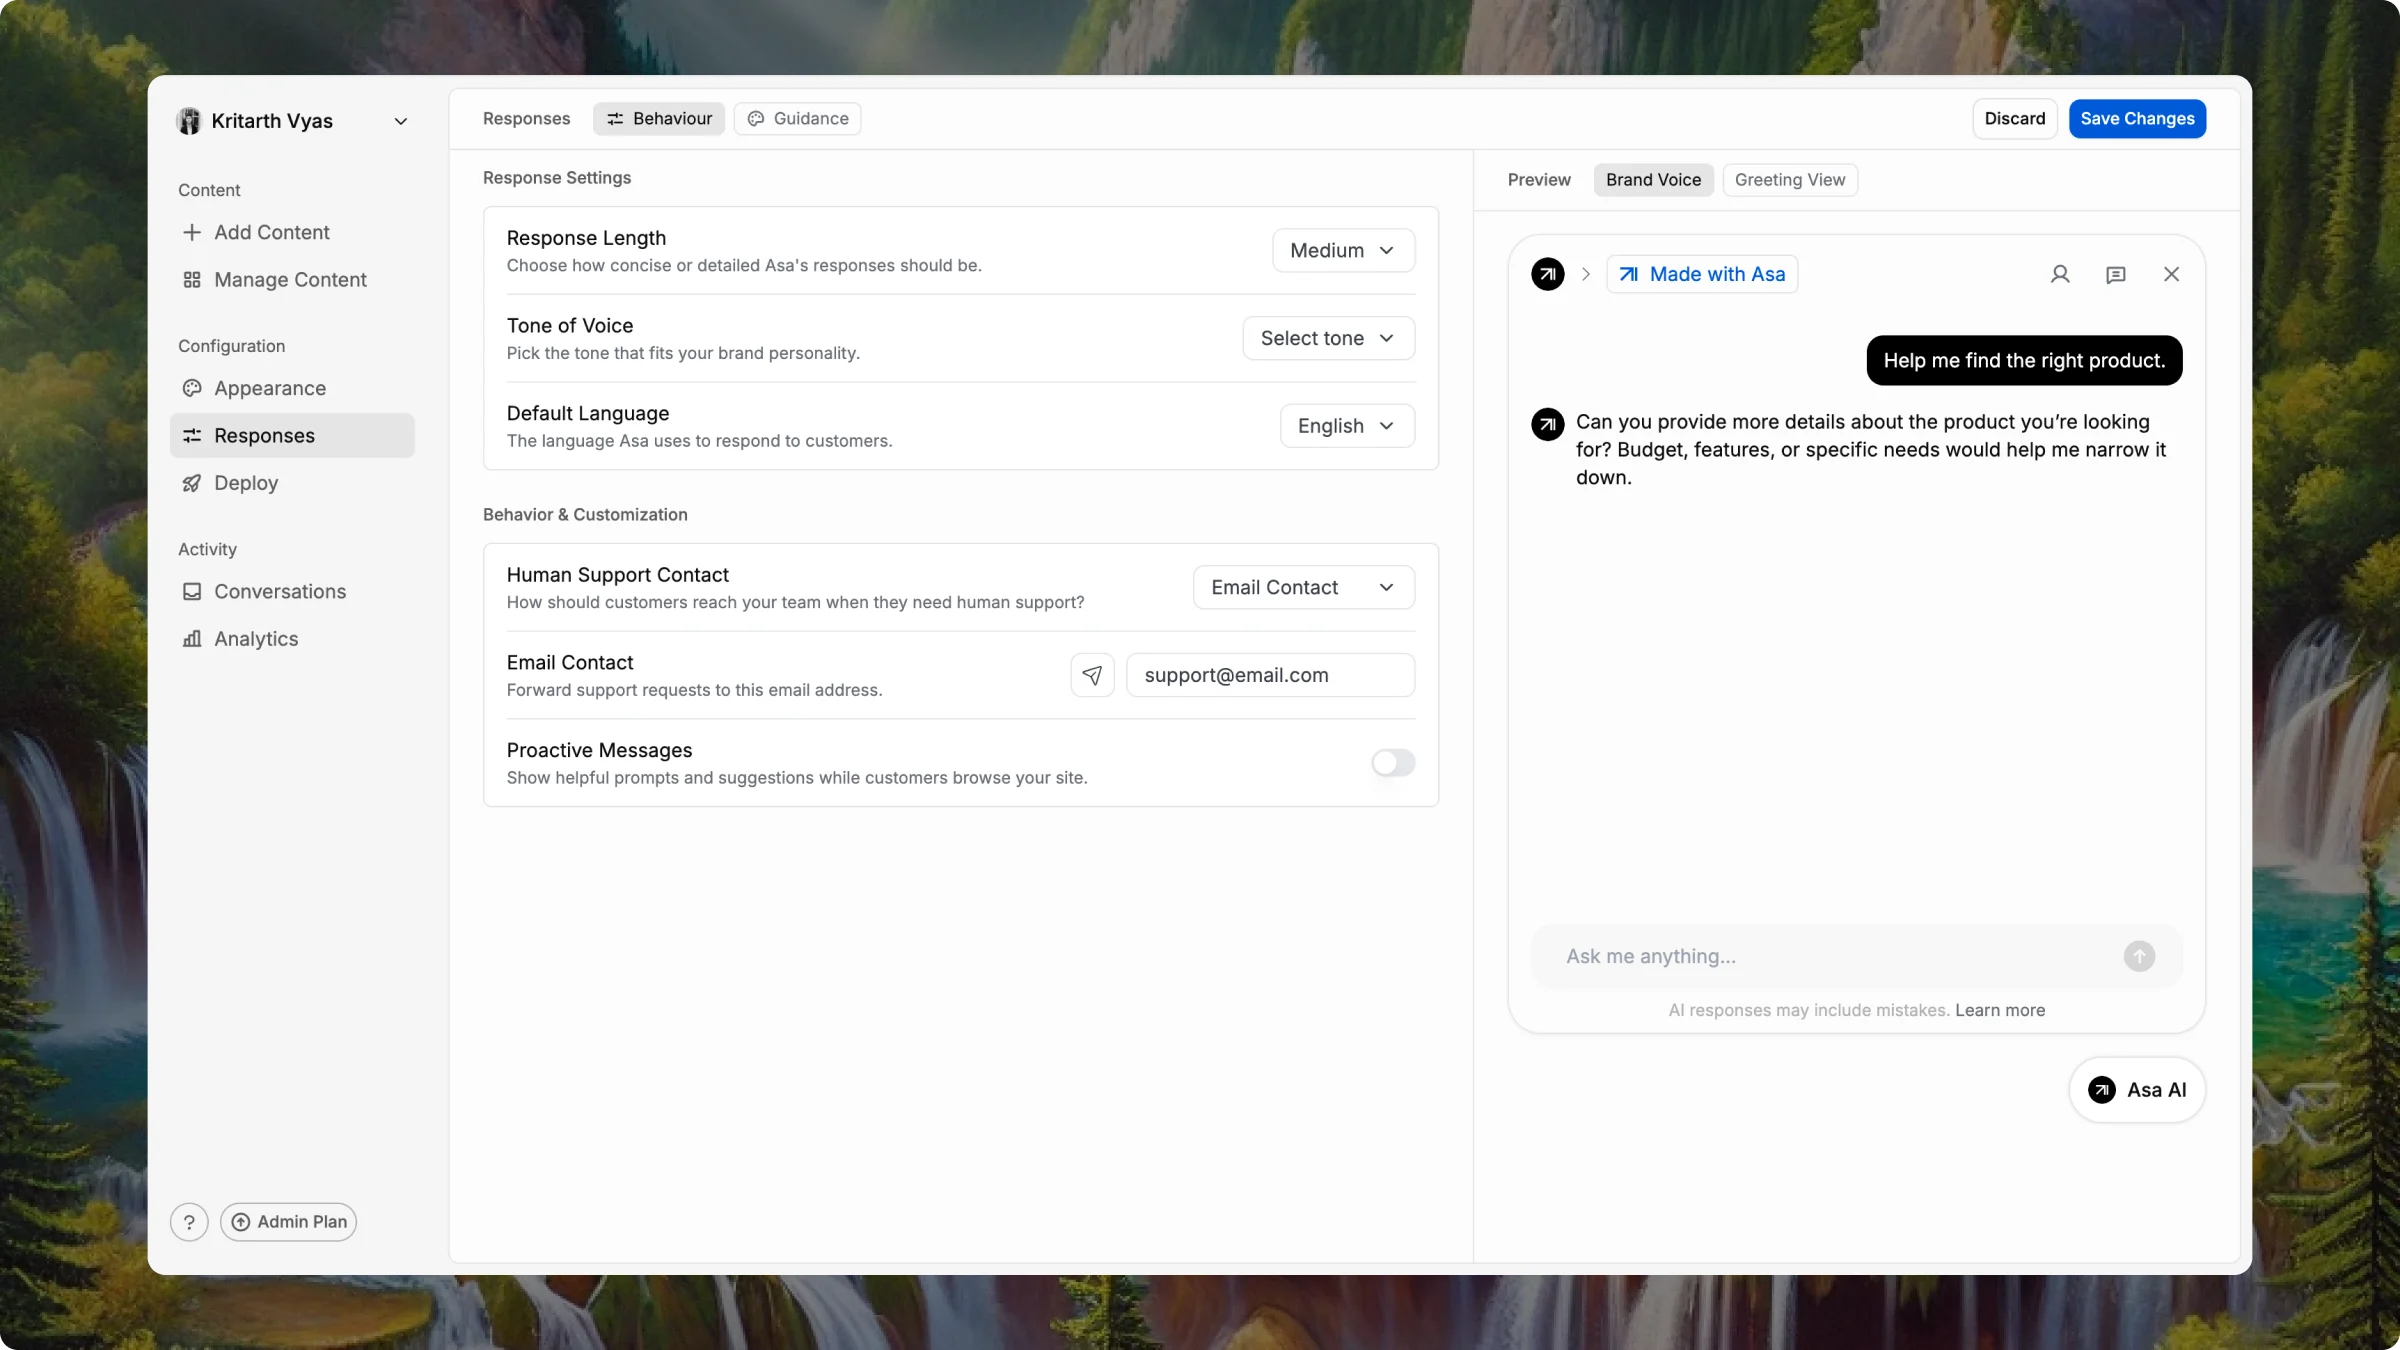
Customize to match your brand

Go to Configuration in the sidebar, then Appearance or Responses.
Set your avatar, brand color, widget position, assistant name, and other appearance settings. The preview panel on the right updates in real time.
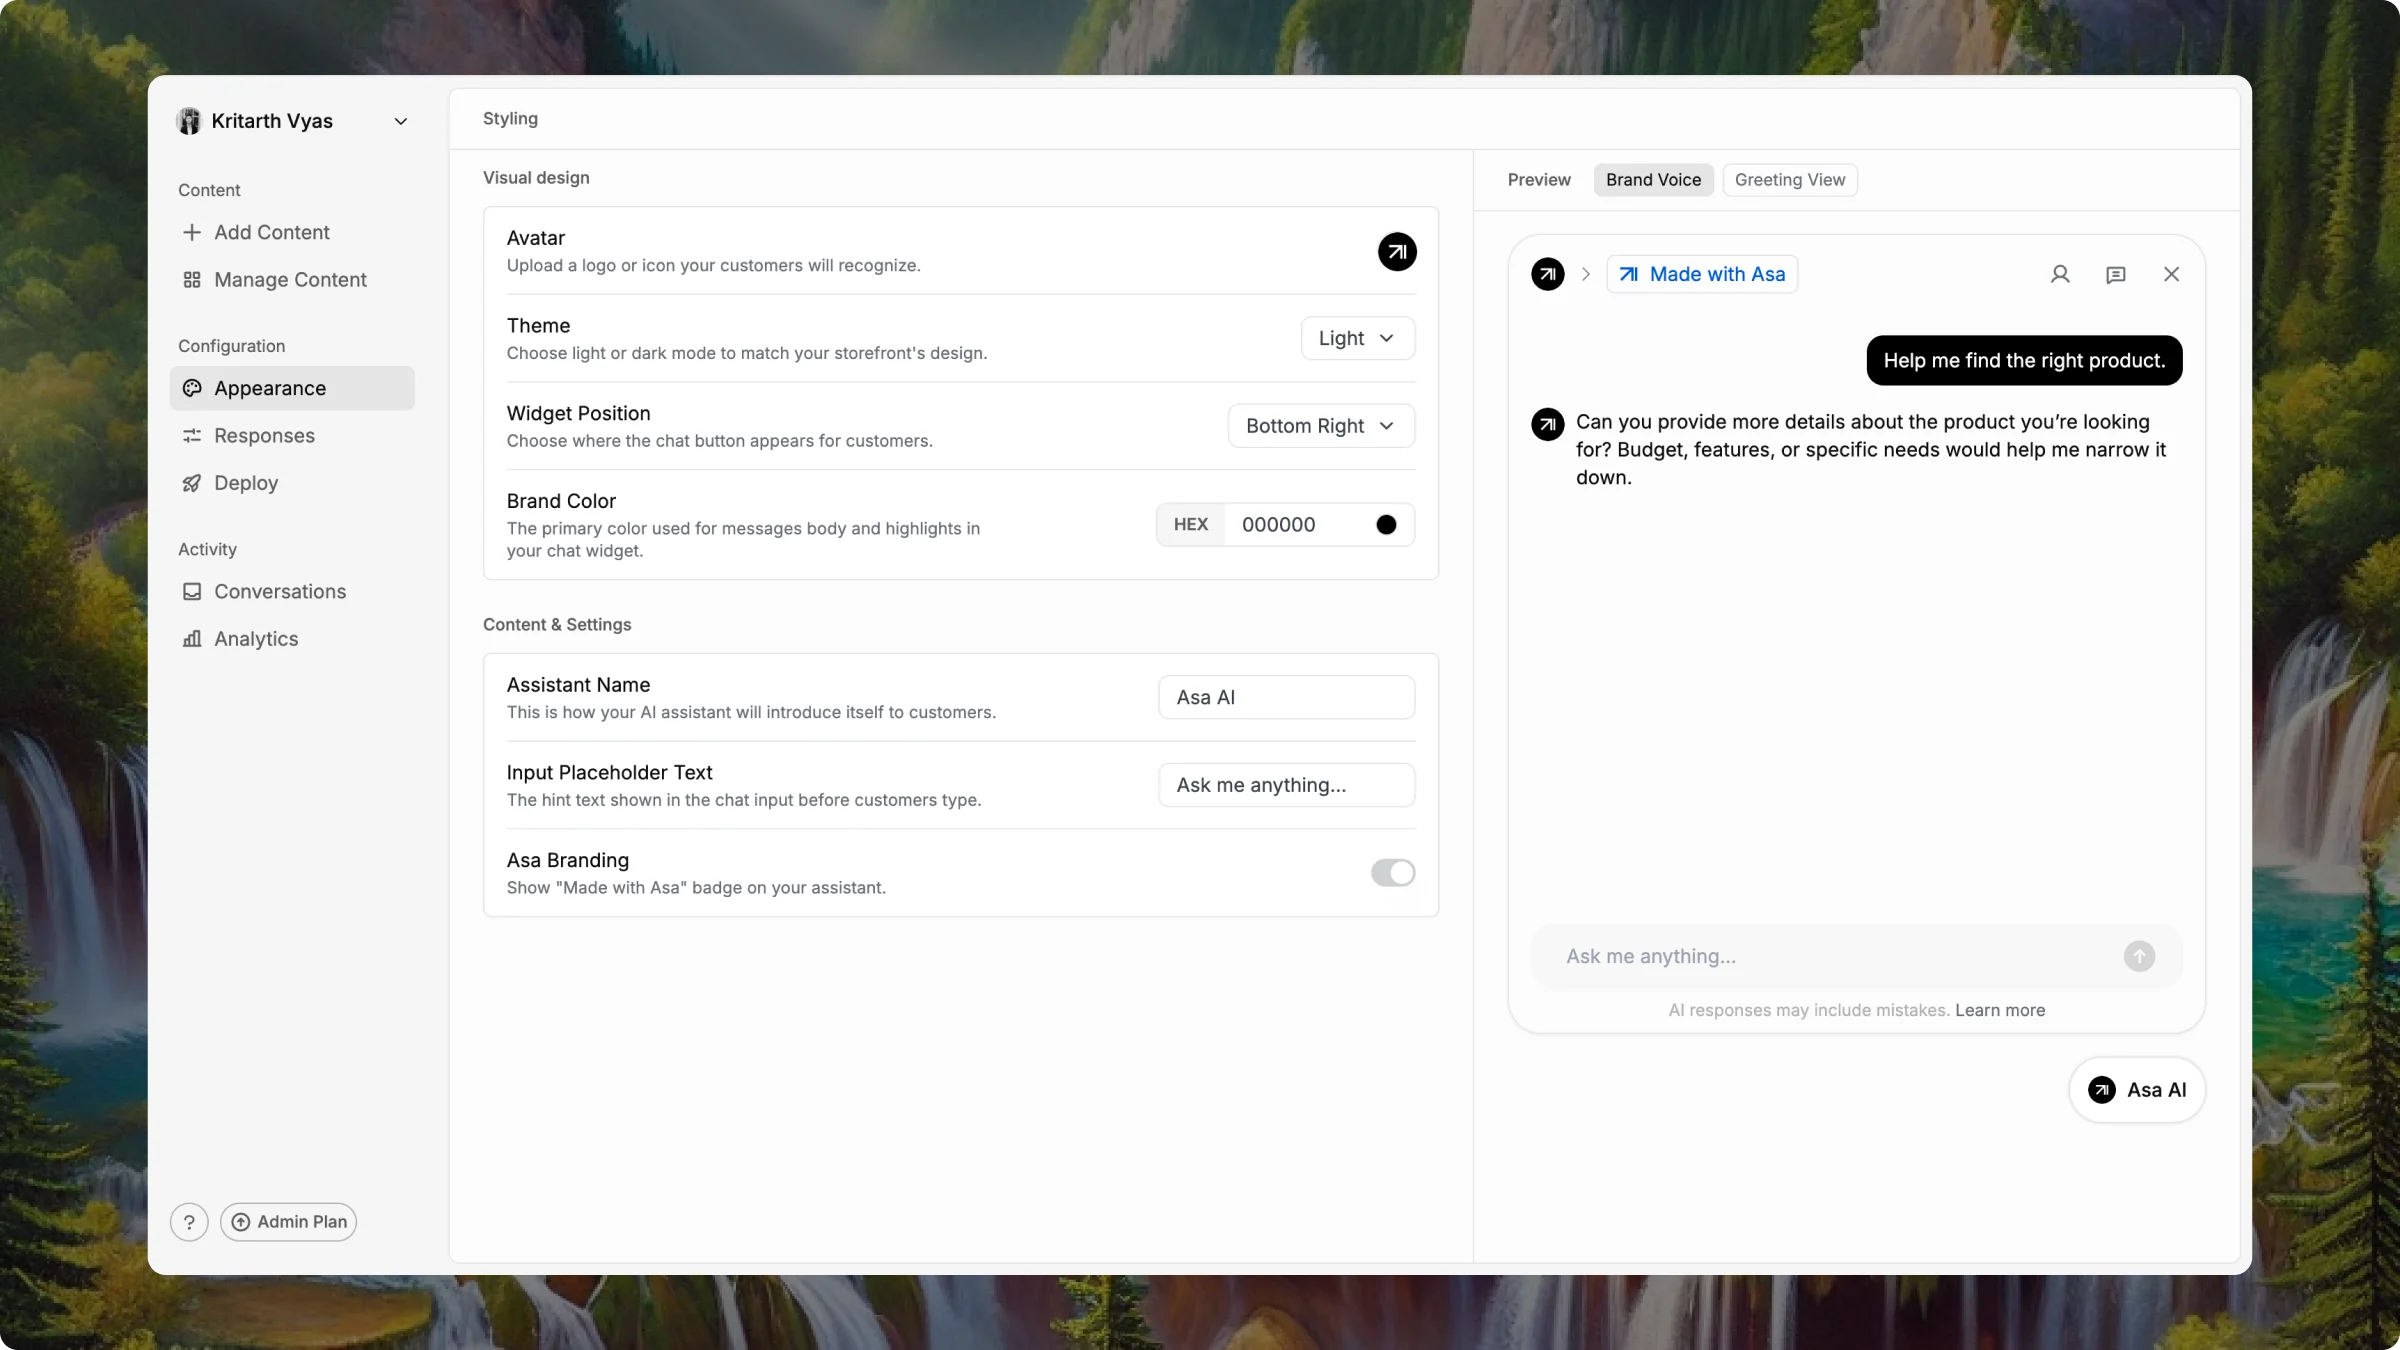
Appearance settings showing avatar, theme, widget position, brand color and assistant name fields
Set your avatar, brand color, and assistant name first. You can refine the rest later.
Click Save Changes in the top right to apply your updates.
5

Deploy to your store

Go to Configuration > Deploy in the sidebar. Open the Channels tab and choose where Asa should appear.
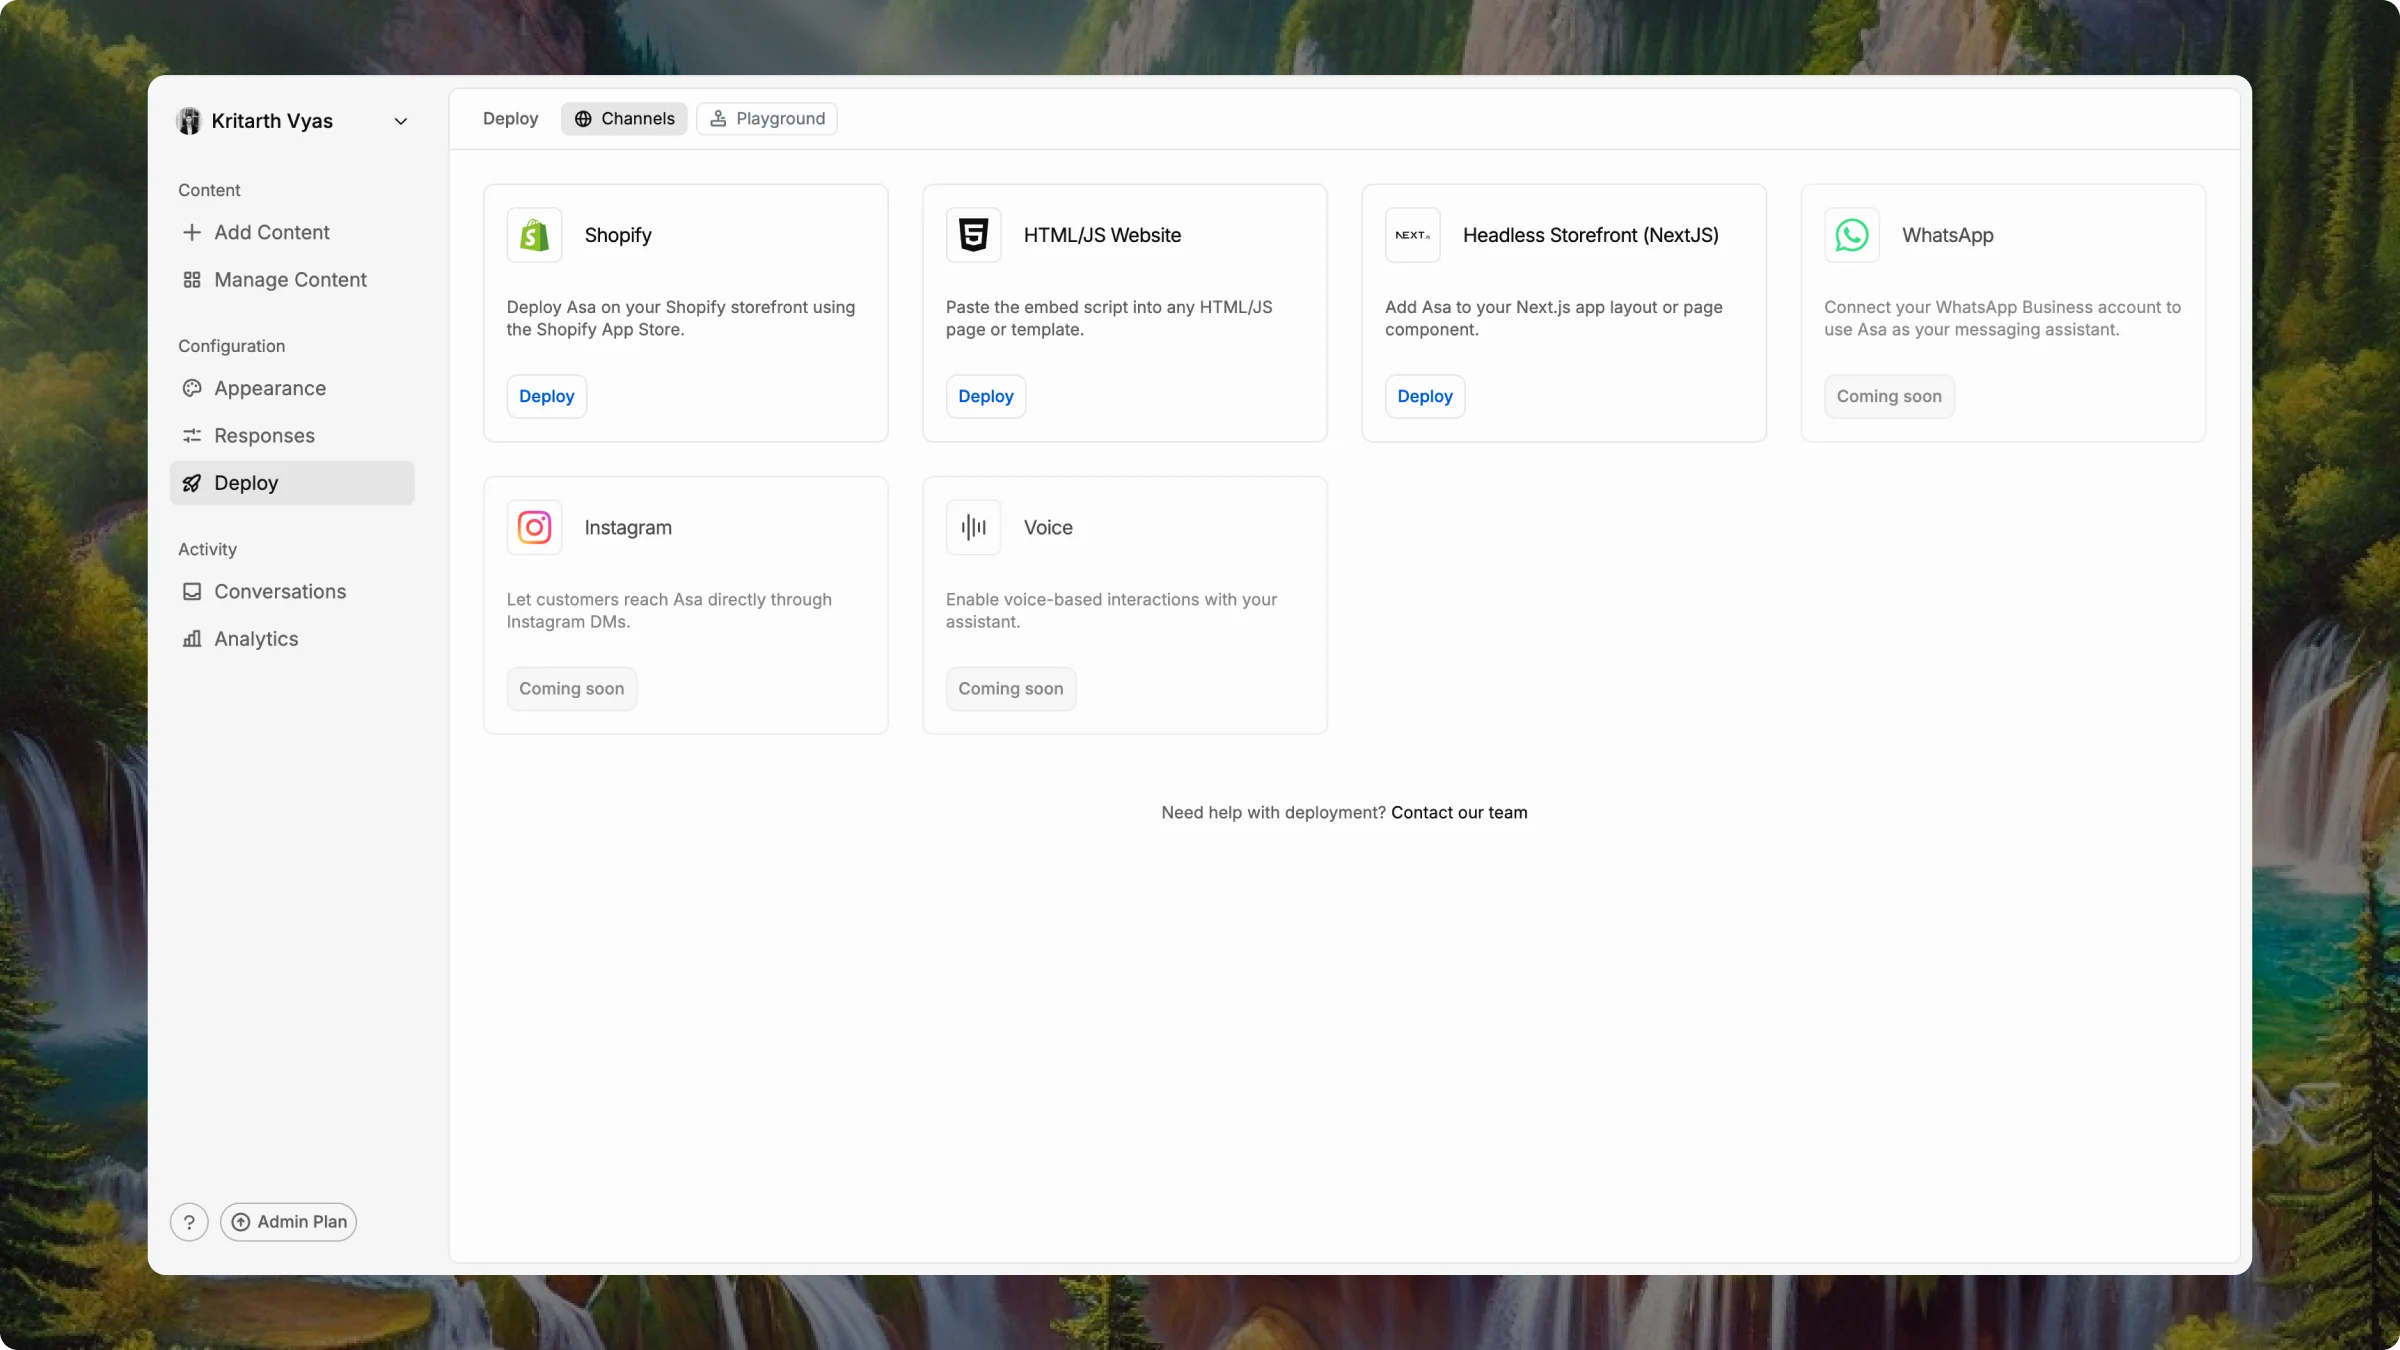
Deploy Channels screen showing Shopify, HTML/JS, Headless and coming soon options
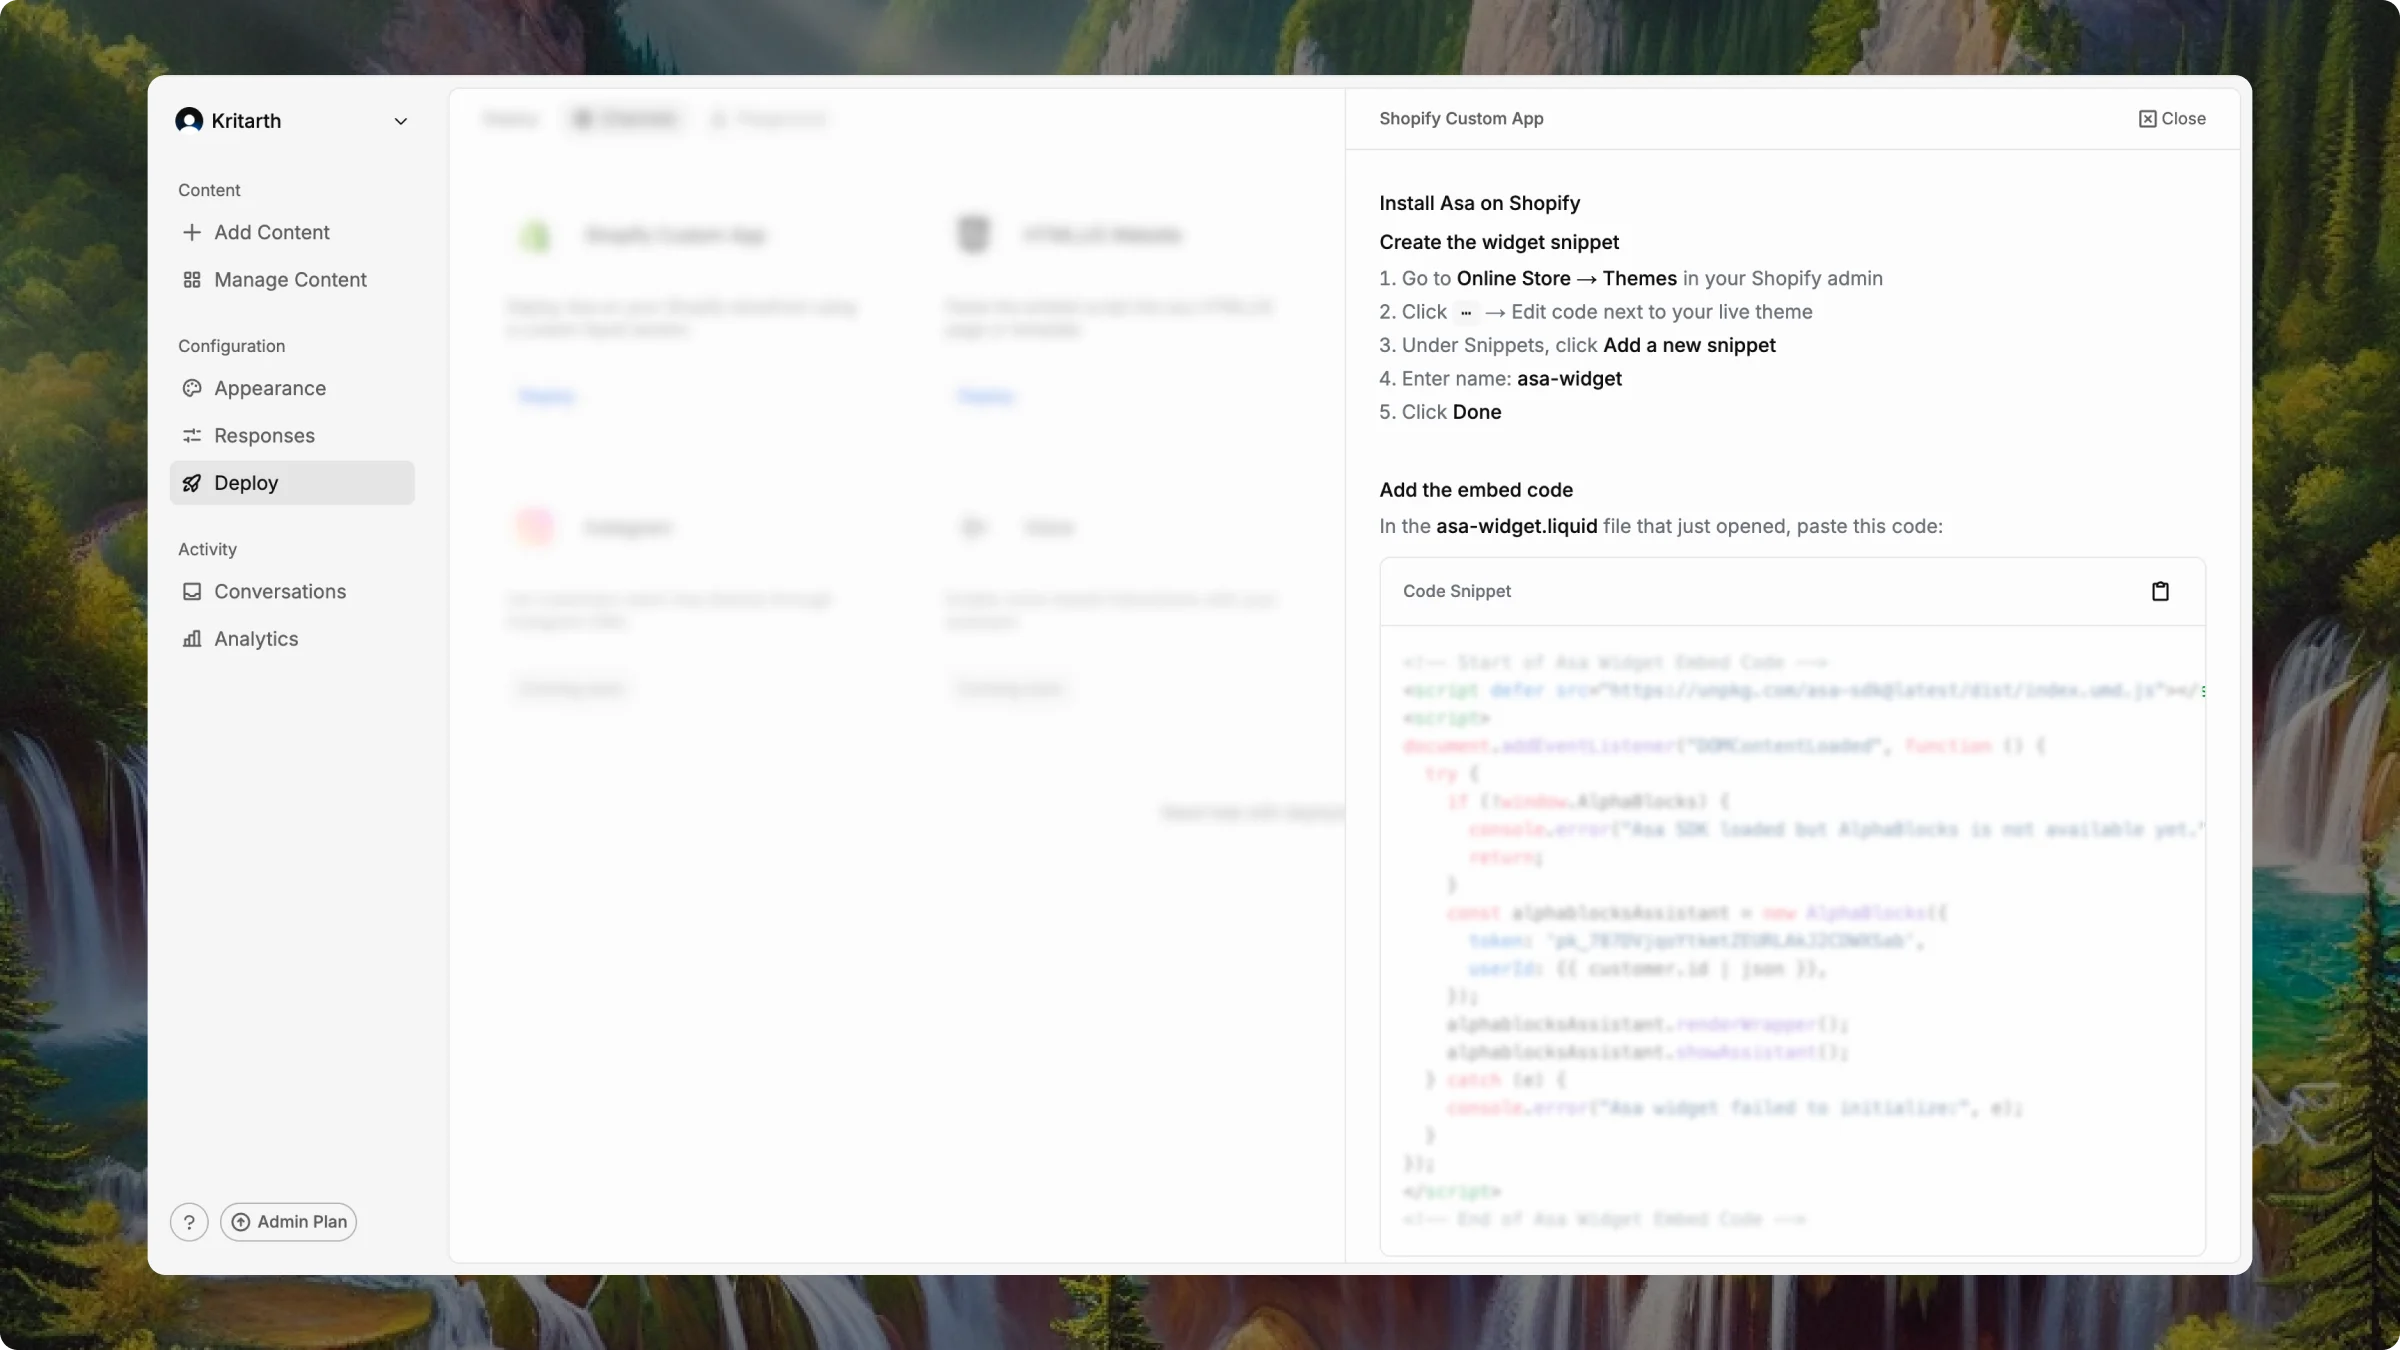
Today, deploy with Shopify (Custom App) — paste a snippet in your theme via the theme editor. A Shopify App Store listing is in review; install-from-store deploy will be simpler once it is live.
On the Shopify (Custom App) card, click Deploy. A sidesheet opens with step-by-step instructions. Follow them in order.
Shopify Custom App deploy instructions sidesheet
Want to test before going live? Open the Playground tab under Configuration > Deploy.
After you deploy, open your storefront and ask Asa about a product or policy as a shopper would. You are live.
The widget can take a moment to appear. Try a hard refresh if you do not see it. Still stuck? Contact us.